Welcome to your kombucha journey! If you find yourself here, you must be looking for some guidance. Never fear! I was in your shoes not that long ago.

I used to buy kombucha for myself at the grocery store as a sort of “treat.” When I found out I could make it at home, with limitless flavor creativity, I was frankly shocked. And a little nervous to try it. However, I have been working my way more into home fermentation, so kombucha seemed like a reasonable next step after sauerkraut.
I, myself, am a path-of-least-dishes kinda gal, so I’ve tried to simplify the brewing routine that I’m going to share with you (…at least, I try. My husband may not agree as sometimes my kitchen looks like I’ve tried to use every single dish and appliance in one day).
Ok, so maybe path-of-what-I-have-on-hand kinda gal is what I really mean. Meaning, I haven’t invested in anything fancy for my kombucha (although you could), and it still turns out great! I just want to share my own simple kombucha routine, tips, tricks and resources all in one place.
Kombucha Basics:
In short, kombucha is a fermented tea. It’s been around for ages, tracing back clear to ancient China. You can use any kind of tea that you like. I stick to black tea, personally. Others you could try include green tea, oolong, earl grey, etc. This is your base (the flour to your sourdough, if you will).
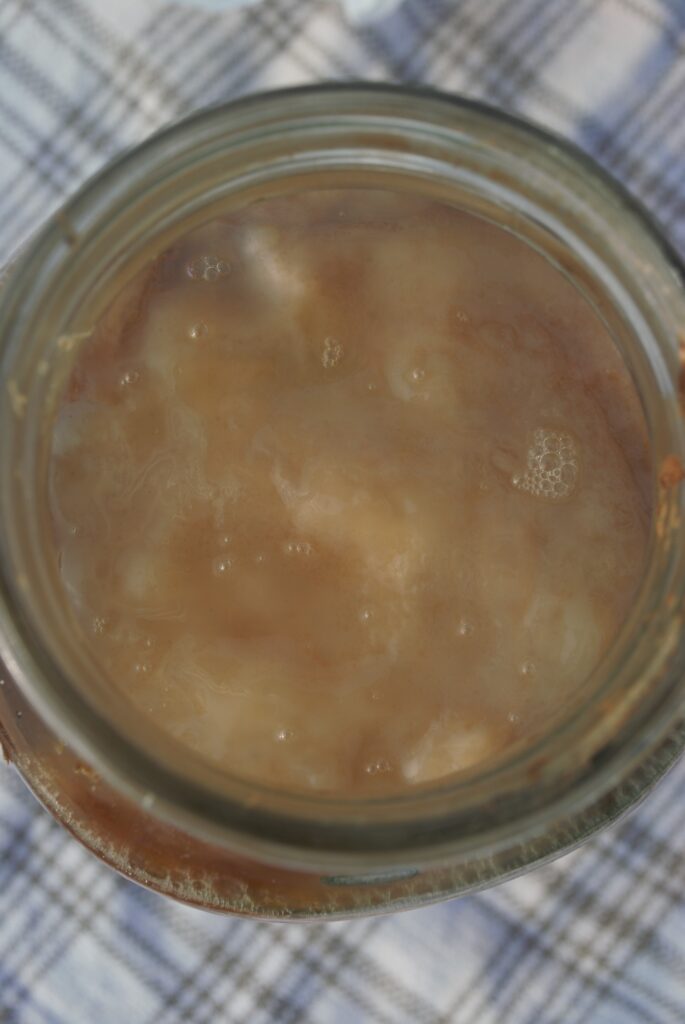
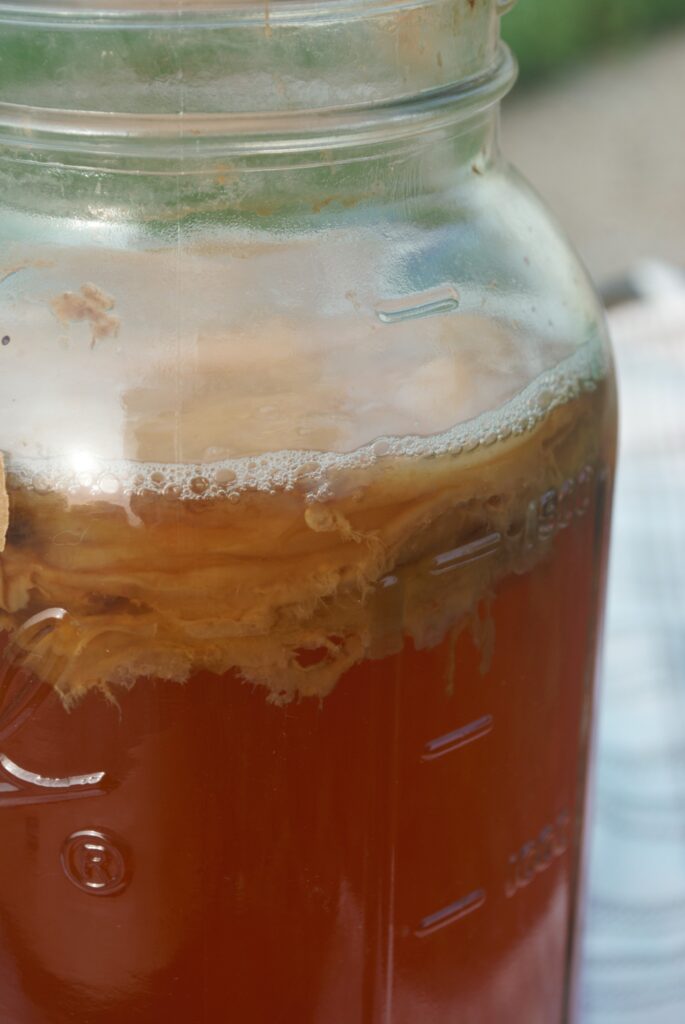
The SCOBY is the heart of the kombucha magic. SCOBY stands for Symbiotic Combination of Bacteria and Yeast. It is the jellyfish alien thing floating in your tea. It should be smooth and shiny, slightly white to tan in color. Sounds delicious, doesn’t it? I got my SCOBY from a friend. Sharing is caring! The longer you brew, the bigger/thicker your SCOBY will get, then you can split and share yours, as well! I split mine when it becomes thicker than one inch.

Brewing kombucha is divided into 2 distinct steps. The purpose of the first fermentation is to ferment, whereas, the purpose of the second is to flavor and carbonate.
In the first fermentation, the goal is for the SCOBY to consume sugar and ferment to its hearts content. This should take 7-10 days in a breathable (open top) container in a warm spot out of direct sunlight (top of the refrigerator is a good spot, or you could get something like this jar warmer). If you go too long on this step (or don’t provide enough sugar in the first place), the tea will taste very acidic (like vinegar).
Kombucha Shopping List:
- SCOBY – You can buy your starter culture dehydrated or in its hydrated form, like this. Or if you have a friend already brewing, they might be willing to give you the next split!
- 4 bags of black tea – I have yet to branch out into other types of tea, but you can feel free to choose your favorite. Just don’t use decaf.
- 2 Half Gallon Glass Jars – My SCOBY hangs out in a basic jar on my counter and she hasn’t complained about it yet. She does get tussled around when I pour out the tea though. If you would rather not risk the spills, I recommend having a glass jar with a spigot. Much easier to manage!
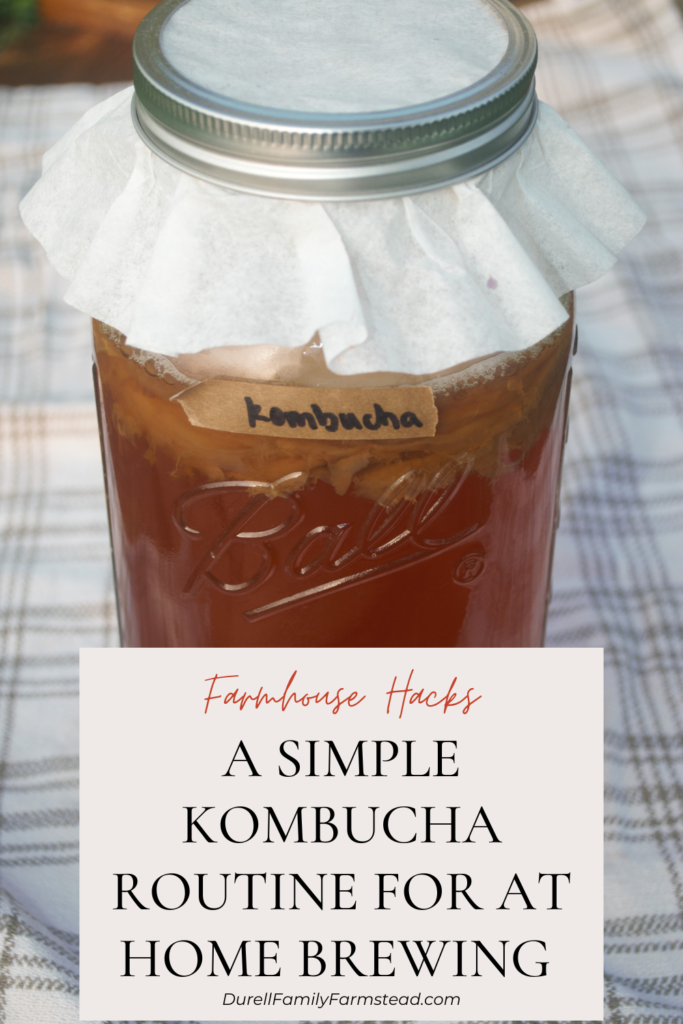
- Cloth cover for the first fermentation jar – You can buy these specially made with drawstrings, elastic, etc. I simply use a cute piece of fabric and a rubber band (and when that is being washed, I use a coffee filter and a metal ring for the jar). The purpose is to allow the jar to breathe while keeping out bugs, dust and so on.
- 4 Pint Glass Jars – I have copious amounts of jars on hand and they create a good end result (I use old metal lids and rings to seal). I also don’t have a dishwasher, so cleaning jars is easier than bottles for me. However, if you want to really step up your game, here are some quality, glass fermentation-grade kombucha bottles you could try. You will get much better carbonation with bottles! The fermentation-grade detail is also important for preventing explosion.

My Simple Kombucha Routine:
| First Fermentation | Day 1: -Brew tea. 7 cups of hot water + 1/2 cup sugar + 4 tea bags. *I allow it to steep until the tea has reached room temperature, then remove the tea bags. Depending on your tea and your preferences (which comes with experience), you may shorten the actual steep time. However, it is still important that it be room temperature prior to proceeding. *I brew directly in my second half gallon jar with the help of my electric kettle for the hot water. You could also brew in a pot on the stove. -Once tea is cooled and tea bags removed, add SCOBY (or inversely, what I do is pour the tea into the SCOBY jar rather than every transferring the actual SCOBY every time). -Cover with a breathable material (I use a piece of fabric and a rubber band). -Place jar in a warm spot out of direct sunlight. Day 7-10: Optional: Give your tea a taste, if you like. Sweet enough for you? Maybe you want more tang. If so, give it a few more days. Day 10: I typically go about 10 days on my first fermentation. If this is your very first cycle with your baby SCOBY, this batch might not taste that great. It will get better with time! This is the point at which you repeat the whole process. I pour off the first ferment into 4 jars and then brew new tea to restart. |
| Second Fermentation | Day 1/10: At this point, you will have two ferments going on your counter. The large main jar housing your mother SCOBY and, now, 4 pint jars (or bottles) with the first ferment tea. -Flavoring/carbonation time! This is the whole point of the second fermentation. Your flavoring should include sugar to feed the fermentation process. *Don’t forget to leave room in each jar for the flavoring. -Add flavoring to each jar. -Apply a lid that seals. This step allows pressure to build which will create a carbonated kombucha. -Give the jar a gentle turn to mix the flavoring into the tea. -Set on the counter in the same environment as the first fermentation for 2-3 days. I like using metal canning lids with the metal rings on my pint jars because I can tell if the pressure is building, based on the lid. Day 3/13: -“Burp” the jars prior to putting them in the fridge; their final resting place! |
| Enjoying your Kombucha! | -I love that my simple kombucha routine creates individual portions, ready to consume. A pint jar is the perfect amount for me! It’s so easy to just pull it out of the fridge, ice cold, and enjoy. -I do strain the fruit/flavoring out. I hear some people like to eat it, but I am not one of those people! I use a small fine mesh strainer to strain my fresh kombucha directly into a glass, and then compost the remaining contents. |
Kombucha Flavors to Try:
This summer, an ice cold berry kombucha has really hit the spot. It’s hard to branch out more when you’ve found such a winning recipe!
However, in true farmer fashion, I do look at what is in season to make these flavoring decisions. Here are some of the flavorings I have tried so far and some notes about each.
Whatever you choose, it is important that you include a sugar source so your ferment has something to eat. She is a living, breathing being after all!

In each case, I am using roughly 1 cup of fruit to 2-3 tablespoons of sugar, cooking where applicable in a saucepan on the stovetop. Once cooled to room temperature, I divide up the flavor evenly between the 4 pint jars and then seal with a ring and metal lid.
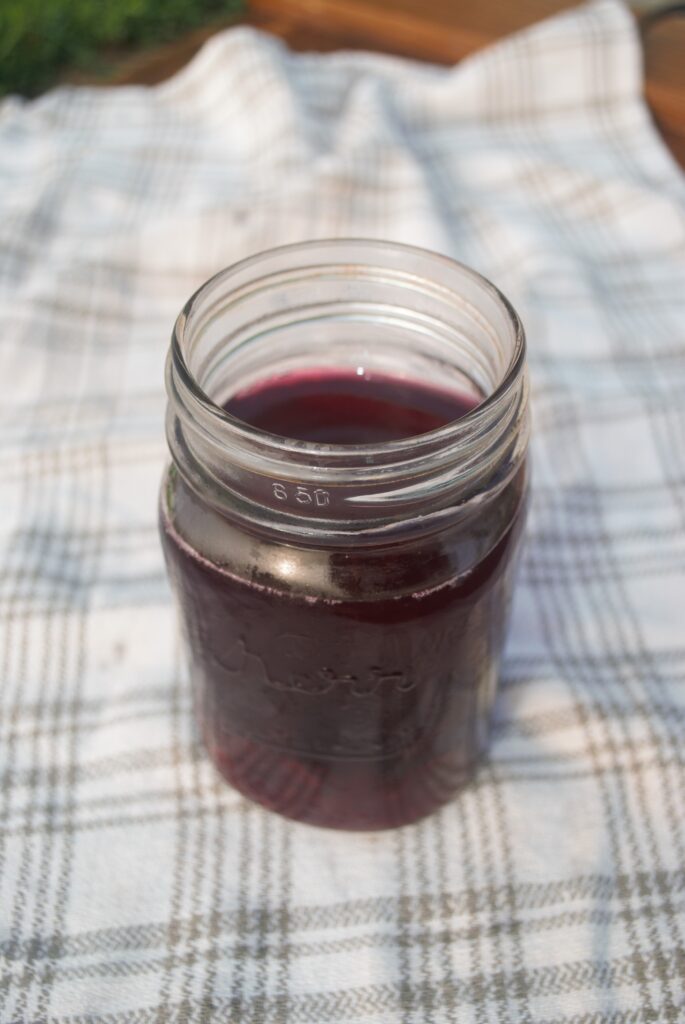
- Frozen Blueberries / Fresh blueberries: Cooked, smashed. This is my favorite flavor so far! And it makes a beautifully colored drink. Super refreshing on a hot August afternoon here in the Midwest.
- Blueberries (same as above), but add a squeeze of lemon juice at the end of cooking.
- Blueberries, left over from making syrup: After making syrup one afternoon, I had a whole mess of blueberries “bodies” leftover after the straining process. This seemed like such a waste, so I threw them in a pan, added a little bit more moisture and guesstimated more sugar to taste. Cooked this down and ended up with about a quart of sauce. It has worked perfectly as a kombucha flavoring! And a topping for cheesecake. And homemade ice cream!
- Fresh strawberries, sliced, raw, no sugar added: This did not work. Learn from my mistake.
- Fresh strawberries, sliced, soaked in sugar until they released moisture, then smashed into a raw sauce. This did work well!
- Fresh strawberries, sliced, cooked and smashed: I couldn’t tell much difference in the final product between cooked and raw.
- Fresh strawberries with basil: Haven’t tried this yet, but I’ve heard it works well!
- Canned peaches in light syrup, slices, not cooked: This also did not work. This is the stage of my journey that I learned that added fruit should be smashed, not whole, increasing the surface area for the ferment to consume it.
- Fresh peaches, cooked, smashed: Another occasion where I made a larger batch of sauce. Decent flavor, not my favorite, but nice change of pace!
- Blackberries, cooked, smashed: Nothing beats wild picked blackberries. This was a winner!
- Maple Syrup: I tap Maple trees each spring for a hyperlocal sugar source. It was a very subtle taste, ultimately, using about 2 teaspoons per jar. I could have used more, I’m sure, but I am very conservative with using this liquid gold!
- Coming up… apple cider kombucha, citrus flavored kombucha, pomegranate kombucha, ginger kombucha and more experimentation with herbs and spices!
Troubleshooting your kombucha routine:
Too acidic: If either the first or second fermentation is too acidic (tastes too much like vinegar), this means either you allowed the fermentation process to go on for too long OR there was not enough sugar added. It could also be a combination of both of these problems. To remedy, feed your kombucha ferment again and check back frequently to narrow in on the taste you want!
Not enough carbonation: Carbonation is gained during the second fermentation phase of kombucha brewing. Make sure your lid is on tight enough so the pressure can build. Also, remember that the carbonation won’t be like a regular soda that has carbonation added; these bubbles will be smaller, so adjust your expectations accordingly! If you desire more carbonation, using fermentation-grade glass kombucha bottles will help!

Looking for more homesteading content? Come on over to the Homestead Blog Hop and explore!
Is kombucha good for you?
Not only do you get the benefits of the joy of creating something by your own hand, but kombucha is a natural ferment. Therefore, it is a drink that is loaded with good probiotics for your gut health! Newer research is showing that that majority of our immune system resides in our gut, something you’ll also see called “gut microbiome.” Kombucha is a drink to help support your health in this way!
Can I drink the first fermentation?
Yes, this is one way that you could enjoy your kombucha. Some people skip the second fermentation all together. However, this version of your kombucha will not be carbonated and obviously won’t have added flavoring!
Can I mix the types of teas that I feed my first fermentation?
I don’t see why not! The sky is the limit for flavoring potential here; just be sure not to use decaffeinated tea.
Some of my favorite resources:
keywords: berry kombucha, apple cider kombucha, black tea kombucha, best bottles for kombucha, carbonated kombucha, black tea for kombucha, baby kombucha, black tea for kombucha, simple kombucha routine

